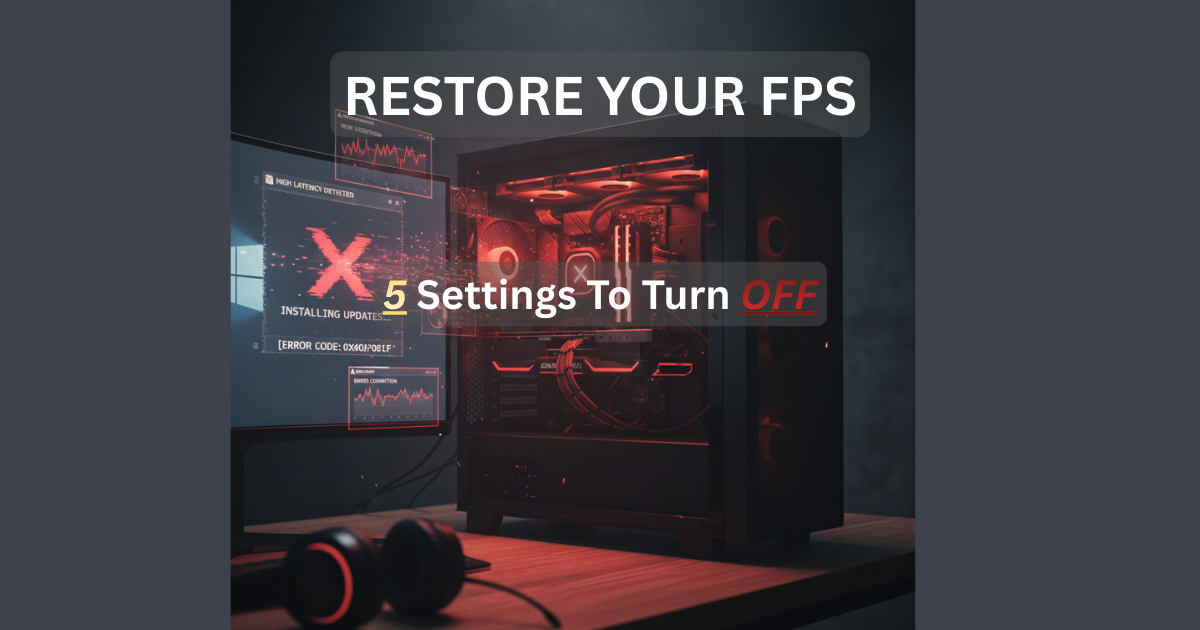
Executive Summary
If your PC started lagging, stuttering, or losing FPS after a recent Windows update (such as 23H2 or 24H2), your hardware is not the problem.
Windows updates frequently re-enable hidden security and power features that reduce gaming performance often without notifying you.
Do You Have Windows Update-Related Lag?
You likely have post-update performance issues if:
Timing Indicators:
✓ Lag or stuttering started within 24-48 hours of a Windows update
✓ Games were smooth on identical hardware before the update
✓ Multiple games are affected, not just one title
✓ Performance issues appeared without any hardware changes
Symptom Indicators:
✓ FPS is noticeably lower than before the update
✓ 1% lows dropped dramatically (stuttering feels worse than FPS drop)
✓ Mouse feels heavy or input lag increased
✓ Frame pacing feels inconsistent despite similar average FPS
Not update-related if:
If only one game is affected: likely a game-specific patch or driver conflict, not Windows itself.
If problems existed before the update: read Low FPS on High-End PC? Fix It in 15 Minutes instead.
If stuttering is Windows 11 25H2-specific: read Fix Windows 11 25H2 Stuttering for version-specific fixes.
Fix Checklist (10 Minutes Total)
| Setting | Performance Impact | Fix Time |
| Core Isolation (Memory Integrity) | Very High (5–15% FPS loss) | 1 min |
| Fast Startup | Medium (stutter, instability) | 2 mins |
| GPU Driver Replacement | High (crashes, FPS drops) | 2 mins |
| DirectX Shader Cache | Medium (micro-stutter) | 2 mins |
| Power Mode / Game Mode | Medium (consistency) | 3 mins |
Why Windows Updates Cause Lag (What Actually Changes)
Modern Windows updates do more than patch bugs. They often reset system-level defaults designed for enterprise security, battery life, and background services not gaming.
Common post-update symptoms include:
- Lower average FPS
- Severe 1% low drops (stutter)
- Input lag or “heavy” mouse feel
- Inconsistent frame pacing
The fixes below target the exact settings Windows silently toggles.
For advanced fixes like disabling MPO, GameInput conflicts, and frame-time instability, follow this no-reinstall stuttering fix.
1. Disable Core Isolation (Memory Integrity) The #1 FPS Killer
Impact: Very High (5–15% FPS, worse 1% lows)
Why This Hurts Gaming
Core Isolation uses Virtualization-Based Security (VBS) to isolate memory processes. While excellent for corporate security, it adds instruction-level latency to CPU operations.
For games, this results in:
- Lower 1% lows
- Increased input lag
- Worse CPU-bound performance
Windows updates like 22H2, 23H2, and 24H2 frequently re-enable this setting.
The Fix
- Press Windows Key → type Core Isolation
- Open Core Isolation Details
- Toggle Memory Integrity to OFF
- Restart your PC (required)
Competitive games like CS2, Valorant, and Warzone often feel instantly smoother after this change.
2. Disable Fast Startup (Force a Real Shutdown)
Impact: Medium (stability + stutter reduction)
Why This Matters
With Fast Startup enabled, “Shut Down” does not fully shut down Windows. It hibernates the kernel, meaning:
- Buggy update files persist in memory
- Driver issues survive reboots
- Performance problems linger indefinitely
The Fix
- Open Control Panel → Power Options
- Click Choose what the power buttons do
- Click Change settings that are currently unavailable
- Uncheck Turn on fast startup
- Shut down your PC and power it back on
You now have a true clean boot state.
3. Prevent Windows from Downgrading Your GPU Drivers
Impact: High (prevents crashes, FPS drops)
Why This Happens
Windows Update frequently replaces official NVIDIA/AMD drivers with older, generic Microsoft versions often without asking.
This causes:
- Random stutter
- Performance loss
- Broken control panels
- Game crashes
Lock It Down Permanently
- Press Windows + Pause/Break (or right-click Start → System)
- Click Advanced system settings
- Open the Hardware tab
- Click Device Installation Settings
- Select No (your device might not work as expected)
- Save changes
Now reinstall your GPU driver one final time from NVIDIA or AMD.
Windows will no longer touch it.
4. Clear the DirectX Shader Cache (Fix Hitching)
Impact: Medium (stutter & hitching fix)
Why This Works
After a Windows update, your existing DirectX shader cache may conflict with new system files. Games then try to read invalid pre-compiled shaders, causing:
- Micro-freezes
- Asset-loading stutter
- Frame pacing issues
The Fix
- Press Windows + R, type cleanmgr, press Enter
- Select your C: drive
- Click Clean up system files
- Check DirectX Shader Cache
- Click OK
Expect mild stutter for 5–10 minutes in games as shaders rebuild this is normal.
5. Re-Verify Power Mode & Game Mode (The Classic Reset)
Impact: Medium
What Windows Resets
- Power plans often revert to Balanced
- Game Mode may be disabled
- Game Bar overlays remain enabled
The Fix
- Power Plan: Search Choose a power plan → select High Performance
- Game Mode: Search Game Mode → turn ON
- Game Bar: Search Game Bar → turn OFF
This ensures your CPU and GPU are not power-throttled mid-game.
When to Roll Back a Windows Update (Last Resort)
If performance is still broken after all five fixes:
- Go to Settings → Windows Update → Update History
- Click Uninstall updates
- Remove the most recent Quality Update (not security unless necessary)
Rollback is rare but sometimes necessary when an update ships broken.
FAQ
Does Core Isolation hurt gaming performance?
Yes. Memory Integrity can reduce FPS by 5–15%, especially in CPU-limited or competitive games.
Is it safe to delete DirectX Shader Cache?
Yes. Windows and games automatically rebuild it.
How do I stop Windows from replacing my GPU drivers?
Disable automatic device installation in Advanced System Settings (Step 3).
Should I reinstall Windows if lag persists?
Almost never. These fixes resolve the vast majority of post-update issues.
How do I know which Windows update caused the problem?
Go to Settings > Windows Update > Update History. Look for the most recent Quality Update or Feature Update installed within 24-48 hours of when performance dropped. The date column makes this easy to identify.
Will disabling Memory Integrity make my PC less secure?
Yes, slightly. Memory Integrity protects against certain kernel-level attacks. For a dedicated gaming PC that isn’t used for sensitive business data, disabling it is a reasonable trade-off. For work PCs or systems storing sensitive information, leave it enabled and use other fixes instead.
Why does Windows keep re-enabling these settings after updates?
Because Windows updates restore default enterprise security settings. Microsoft designs these defaults for corporate environments where security takes priority over performance. Gaming PCs need different defaults but Windows doesn’t know the difference automatically. You’ll need to recheck these settings after every major feature update.
Do these fixes work on Windows 10 as well?
Most do. Core Isolation, Fast Startup, shader cache clearing, and power mode fixes apply to Windows 10 as well. The GPU driver protection step works identically on both. Read Windows 10 Gaming Optimization in 2026 for additional Windows 10-specific guidance.
Related Guides
- Still low FPS? → Low FPS on a High-End PC: Fix It in 15 Minutes
- FPS looks fine but feels bad? → Why Games Stutter at High FPS
- Before upgrading hardware → How to Tell If You Have a CPU or GPU Bottleneck
Final Takeaway
Windows updates don’t “break” your PC they prioritize security and power efficiency over performance.
Once you know which switches to flip back, the fix is fast, safe, and permanent.
Save this checklist. You’ll need it again.