If Windows 11 games stutter even at high FPS, the problem is usually frame-time instability, not low raw performance. The fastest fixes are:
clear the DirectX shader cache, disable Fast Startup, use the highest performance power setting your PC offers, keep Game Mode on, test Memory Integrity only if the issue started after updates, and use the NVIDIA MPO workaround only if borderless or overlay-related stutter is part of the problem.
What Causes Windows 11 Game Stuttering? (Simple Explanation)
Windows 11 introduced several display, power, and security features that can interfere with smooth game performance. These aren’t hardware problems, they’re configuration conflicts between Windows 11’s new features and how games deliver frames.
Windows 11-specific features that cause stuttering:
MPO (Multi-Plane Overlay): Windows 11’s display optimization for multiple app
layers. Works well for productivity apps but causes frame timing issues in borderless windowed games, especially with overlays active (Discord, GeForce Experience, browser windows).
Fast Startup: Saves the Windows kernel state between shutdowns instead of fully resetting. This speeds up boot times but can carry over corrupted driver states, stale GPU configurations, or broken shader cache data between gaming sessions.
Memory Integrity (VBS): Virtualization-based security feature that protects system memory. Legitimate security improvement but adds 5-15% performance overhead on some systems, showing up as reduced 1% lows and micro-stutters.
DirectX Shader Cache Issues: Windows updates and GPU driver updates can corrupt the shader cache. Games then experience hitching while rebuilding shaders during gameplay, especially in Unreal Engine titles and open-world games.
Power Management Changes: Windows 11 prioritizes energy efficiency more aggressively than Windows 10. Even “Balanced” mode can throttle CPU and GPU performance during gaming, causing inconsistent frame delivery.
GameInput Service Conflicts: Windows 11’s new controller input system. When multiple GameInput service entries exist (common after Windows updates), you get periodic hitching every few seconds, especially noticeable with controllers connected.
Why these are different from hardware problems: If you had smooth gameplay on Windows 10 with the same hardware, or if stuttering started immediately after a Windows 11 update, these are configuration issues not hardware weakness.
Hardware problems don’t suddenly appear after OS updates, configuration conflicts do.
The fixes below target these Windows 11-specific issues. If you’re experiencing general performance problems on any OS, that’s a different troubleshooting path.
Do You Have Windows 11-Specific Stuttering? (Quick Self-Check)
You likely have Windows 11-specific issues if you’re experiencing:
Time-Based Indicators:
- Stuttering started immediately after upgrading from Windows 10 to Windows 11.
- Stuttering started immediately after a Windows 11 feature update or monthly update.
- You had smooth gameplay on Windows 10 with the exact same hardware.
- Performance was fine, then one Windows update made everything feel choppy.
Scenario-Based Indicators:
- Borderless windowed mode stutters but exclusive fullscreen is perfectly smooth.
- Alt-tabbing causes severe stuttering or long delays getting back into the game.
- Stuttering gets significantly worse when Discord overlay, GeForce overlay, or browser windows are visible.
- The game feels smooth for 5-10 minutes after a full restart, then gradually gets worse.
- HDR gaming feels noticeably worse than SDR gaming on the same system.
Controller-Related Indicators:
- Periodic hitching every few seconds (consistent timing, not random).
- Stutter coincides with controller input or happens more with controller than keyboard/mouse.
- Multiple “Microsoft GameInput” entries show up in the installed apps list.
Not Windows 11-specific? You might have a different issue:
If stuttering happens in both Windows 10 and Windows 11: This is likely a hardware issue (GPU saturation, CPU bottleneck, thermal throttling) not a Windows 11 configuration problem. Read Why Games Stutter at High FPS: Diagnose Frame Time Spikes instead.
If FPS is consistently low (not just choppy): You have a performance problem, not a frame-timing problem. Read Low FPS on a High-End PC? Fix It in 15 Minutes instead.
If stuttering happens only in exclusive fullscreen with no overlays: This is more likely GPU saturation, thermal throttling, or driver issues rather than Windows 11-specific conflicts.
If stuttering is random and inconsistent: Check for background apps, Windows updates running, antivirus scans, or thermal throttling before assuming it’s Windows 11-specific.
Confirmed Windows 11-specific stuttering? Continue to the fixes below.
Why Windows 11 Stuttering Can Feel Worse Than Low FPS
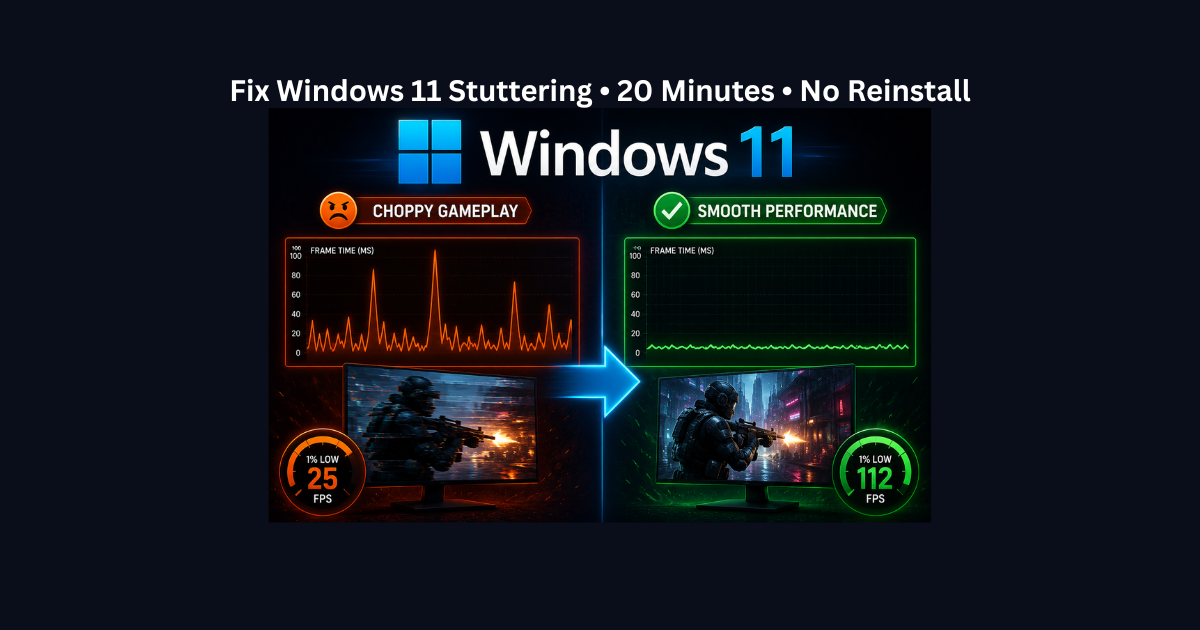
Low FPS is obvious because the whole game feels slow. Windows 11 stutter is different. The game can look “fast” on paper while still feeling bad in motion because one delayed frame can ruin smoothness. That is why high FPS does not automatically mean stable gameplay.
What Causes Windows 11-Specific Stuttering?
Windows 11 stuttering is almost always caused by configuration conflicts, not weak hardware:
DirectX Shader Cache Corruption: Windows updates or GPU driver updates break the cached shader files, causing hitching while games rebuild shaders during gameplay.
Fast Startup Driver Conflicts: Windows saves kernel state between shutdowns instead of fully resetting, carrying over stale GPU driver states and broken configurations.
Power Management Limits: Windows 11 prioritizes energy efficiency more aggressively than Windows 10, throttling performance even in “Balanced” mode during gaming.
Memory Integrity Overhead: VBS (Virtualization-Based Security) feature adds 5-15% performance overhead on some systems, reducing 1% lows and creating micro-stutters.
MPO Presentation Conflicts: Multi-Plane Overlay feature causes frame timing issues in borderless windowed games, especially with overlays (Discord, GeForce Experience, browsers).
GameInput Service Conflicts: Duplicate or corrupted GameInput service entries cause periodic hitching every few seconds, especially noticeable with controllers.
Before upgrading hardware or reinstalling Windows, fix these configuration issues first. In most cases, Windows 11 stuttering is completely fixable without touching hardware.
Quick 30-Second Check: Confirm This Is Frame-Time Stutter
Before changing anything, confirm that you are dealing with frame-time instability and not just a normal hardware limit.
Install MSI Afterburner with RivaTuner Statistics Server (RTSS). Turn on the frame time graph. Play for 1–2 minutes in the area where the stutter normally shows up.
What to Look For
Mostly flat frame-time line: normal frame pacing.
Spikes or jagged frame-time line: hitching, software conflicts, or unstable delivery.
If the FPS is high but the frame-time graph is messy, this guide applies to you.
Step 1: Clear the DirectX Shader Cache and Restart Properly
Time: 4 minutes
Impact: High
After a Windows update, GPU driver update, or game patch, the shader cache can become a mess. That can show up as traversal hitches, uneven frametimes, and poor 1% lows, especially in newer games and Unreal Engine titles.
How to Do It
- Press the Windows key.
- Search for Disk Cleanup.
- Select your C: drive.
- Check DirectX Shader Cache.
- Click OK to remove it.
After clearing the cache, do a full restart. This gives Windows and the GPU driver a cleaner starting point than just continuing to test on top of a stale cache.
What to Expect
- Fewer hitches during area transitions.
- Cleaner frame pacing after the game rebuilds shaders.
- Less “heavy” feel after a recent update.
If your stutter happens even with high FPS, also read Stuttering at 144 FPS? Fix It in 15 Minutes.
Step 2: Disable Fast Startup and Use the Best Gaming Power Settings
Time: 5 minutes
Impact: High
Fast Startup helps Windows boot faster by saving the kernel session instead of doing a completely clean shutdown. That is useful for faster startup times, but it can be unhelpful when you are troubleshooting fresh driver state, update-related weirdness, or post-update stutter. At the same time, gaming in a balanced or power-saving mode can make responsiveness worse.
How to Disable Fast Startup
- Open Control Panel.
- Go to Power Options.
- Select Choose what the power buttons do.
- Click Change settings that are currently unavailable.
- Uncheck Turn on fast startup.
- Save changes.
How to Improve Windows 11 Gaming Settings
- Open Settings > System > Power & battery.
- Set Power mode to the highest performance option available.
- Go to Settings > Gaming > Game Mode.
- Make sure Game Mode is turned On.
- If you play in borderless or windowed mode, check Settings >
- System > Display > Graphics > Default graphics settings and
- turn on Optimizations for windowed games.
What to Expect
- Cleaner post-restart behavior after updates.
- Better responsiveness in CPU-heavy scenes.
- Less random hitching caused by overly conservative power behavior.
Step 3: Test Memory Integrity Only If Stutter Started After a Windows Update
Time: 3 minutes
Impact: Medium to High on some systems
This is the step that needs the most care. Memory Integrity is a real Windows security feature. It is not “junk,” and it is not something everyone should turn off by default. But if stuttering started right after a Windows update and you have already tested the first two steps, it is reasonable to test whether Memory Integrity is part of the problem on your specific system.
How to Test It
- Search for Core isolation.
- Open Core isolation details.
- Toggle Memory Integrity Off.
- Restart your PC.
- Test the same game area again.
Important Note
This is a troubleshooting test, not a universal gaming recommendation. If it does not help, turn it back on. If it does help, decide whether the performance gain is worth the security tradeoff for your setup.
What to Expect
- Possible improvement in 1% lows and input feel on some systems.
- No change at all on others.
- A clearer answer about whether the issue is tied to Windows security settings or something else.
If performance feels low overall and not just uneven, read Low FPS on High-End PC? Fix It in 15 Minutes.
Step 4: Test MPO and GameInput Only If the Symptoms Match
Time: 6–8 minutes
Impact: High when the symptoms match, low when they do not
This step works best when the stutter happens in borderless windowed games, when overlays are active, when alt-tabbing causes weirdness, or when controller/input issues feel tied to the stutter.
Test the MPO Workaround for Borderless or Overlay Stutter
NVIDIA still provides official registry files to disable and restore multiplane overlay (MPO) for users affected by flicker or related desktop-app behavior. That makes MPO a reasonable troubleshooting step if your problem seems tied to borderless gaming, overlays, browsers, or weird desktop-level hitching.
Use the official NVIDIA support article to apply mpo_disable.reg, restart the PC, and test again. If nothing improves, restore the original setting.
Check for Duplicate GameInput Entries Only If You Have Controller or Periodic Hitching Issues GameInput problems are real enough to be worth checking, but they are not the
root cause of every Windows 11 stutter issue. This is mostly relevant if:
- stutter gets worse when using a controller.
- you feel a hitch every few seconds.
- you notice GameInput-related entries in reliability history or installed Apps.
- Open Settings > Apps > Installed apps.
- Search for Microsoft GameInput.
- If you see more than one entry, remove the older one first.
- Restart and test again.
What to Expect
- Less borderless-window or overlay-related hitching if MPO was involved.
- Cleaner controller behavior if duplicate GameInput entries were the issue.
- No change if your problem is really hardware, thermals, or game-specific optimization.
Frequently Asked Questions
Why do my games stutter even though my FPS is high?
Because high FPS only shows the average number of frames rendered. It doesn’t show whether those frames are being delivered evenly. Windows 11 stutter usually feels bad because some frames arrive late, which creates hitching and poor 1% lows even when the FPS counter still looks strong. This is frame-timing inconsistency, not low performance.
Should I disable Memory Integrity for gaming?
Not by default. Memory Integrity is a legitimate security feature, so treat it as a troubleshooting test rather than a universal gaming tweak. If stuttering started after a Windows update and other fixes didn’t help, test it off, compare before and after, and turn it back on if there’s no clear improvement. The performance impact varies significantly by system.
Is disabling MPO safe?
Yes, it’s a reasonable troubleshooting step when borderless-window stutter, overlays, or desktop flicker are part of the problem. NVIDIA provides official registry files to disable and restore MPO, so use those rather than random registry edits from forums. MPO primarily affects windowed/borderless gaming exclusive fullscreen isn’t impacted.
Should I turn off Game Mode in Windows 11?
Usually no. Start with Game Mode on. It’s designed to help Windows prioritize the active game and reduce background interference. Only test it off if you have a specific title that behaves worse with it enabled on your system. Game Mode works well in most cases the problems usually come from other Windows 11 features.
Do I need to reinstall Windows if none of this works?
Usually not as a first move. Stuttering is often caused by settings, update side effects, background apps, drivers, thermals, or game-specific issues. Reinstalling Windows makes more sense after you’ve already isolated the software and hardware basics. Try hardware diagnostics and driver troubleshooting before wiping your system.
Does Windows 11 hurt gaming performance?
Not inherently, but Windows 11 prioritizes energy efficiency and security features more aggressively than Windows 10. Features like Memory Integrity (VBS), Fast Startup, and MPO can cause stuttering on some systems without proper configuration. Once these are addressed, Windows 11 gaming performance is comparable to Windows 10. The issues are fixable configuration conflicts, not fundamental Windows 11 limitations.
Should I downgrade to Windows 10 for gaming?
Only if you’ve exhausted all Windows 11-specific fixes and confirmed the stuttering completely disappears on a Windows 10 installation. Most Windows 11 stuttering is fixable with the configuration changes in this guide. Downgrading loses Windows 11 features, security updates, and future game optimizations. Test all fixes first before considering downgrading.
How do I know if it’s Windows 11 or my hardware?
Time-based test: If stuttering started immediately after Windows 11 upgrade or update with no hardware changes, it’s Windows 11 configuration. Scenario-based test: If borderless mode stutters but exclusive fullscreen is smooth, it’s Windows 11 (MPO-related). Hardware test: If stuttering happens on both Windows 10 and Windows 11, or in all display modes equally, it’s more likely hardware (GPU saturation, thermal throttling, CPU bottleneck).
Related Troubleshooting Guides
If it’s not Windows 11-specific: Read Why Games Stutter at High FPS: Diagnose Frame Time Spikes if your stuttering happens on any OS or isn’t related to Windows 11 features. That guide covers hardware causes like GPU saturation, CPU bottlenecks, thermal throttling, and storage issues.
If you have low FPS instead of stuttering: Read Low FPS on High-End PC? Fix It in 15 Minutes if your average framerate is consistently low (30-60 FPS) rather than high FPS with choppy delivery. Different problems, different fixes.
If you’re on Windows 10: Read Windows 10 Gaming Optimization in 2026: Reduce Lag, Freezing, and Overheating for Windows 10-specific optimization steps. Some overlap exists but Windows 10 doesn’t have MPO, GameInput conflicts, or the same Memory Integrity overhead.
If you need to confirm hardware isn’t the issue: Read How to Tell If You Have a CPU or GPU Bottleneck to verify your hardware is performing as expected before assuming Windows 11 is the problem. Rule out thermal throttling and hardware limits first.
If you’re checking settings before upgrading: Read 7 Critical PC Settings to Check Before Buying New Parts to verify all software optimization is complete before spending money on hardware upgrades.
Final Takeaway
Windows 11 stuttering does not automatically mean your hardware is weak and it does not automatically mean you need a reinstall. Start with the high-impact fixes first: clear the shader cache, disable Fast Startup, use the highest performance power setting available, keep Game Mode on, and test Memory Integrity or MPO only when the symptoms actually match.
If those steps do not solve it, move to the linked guides above and narrow the issue down properly. Smooth gameplay is not just about high FPS. It is about stable frame delivery.